What I keep in my conference booth cable bag
The compact power, HDMI, Android TV, and fallback kit I carry for one rented booth screen.
My booth cable kit is built around a mistake I made at my first overseas conference: I remembered the travel adapter, but forgot that one adapter still gives me only one socket.
The conference was in Boston. I arrived from Europe with one adapter for the American socket, a laptop charger, a phone charger, and several other things that would eventually need power. During setup, I realized that I could plug in exactly one of them.
I had charged every battery at the hotel and brought a power bank, so I was not starting from zero. But that is not a power plan I wanted to repeat.
I could have bought four or five travel adapters. Instead, I built the kit I still carry: one short multisocket extension cord, one properly rated travel adapter, and one charger that replaces most of the individual chargers. The display side has a similar division of labor - an Android TV stick for Booth Beam content, a laptop connection for live demos, and a USB stick that can keep something useful on screen if both are unavailable.
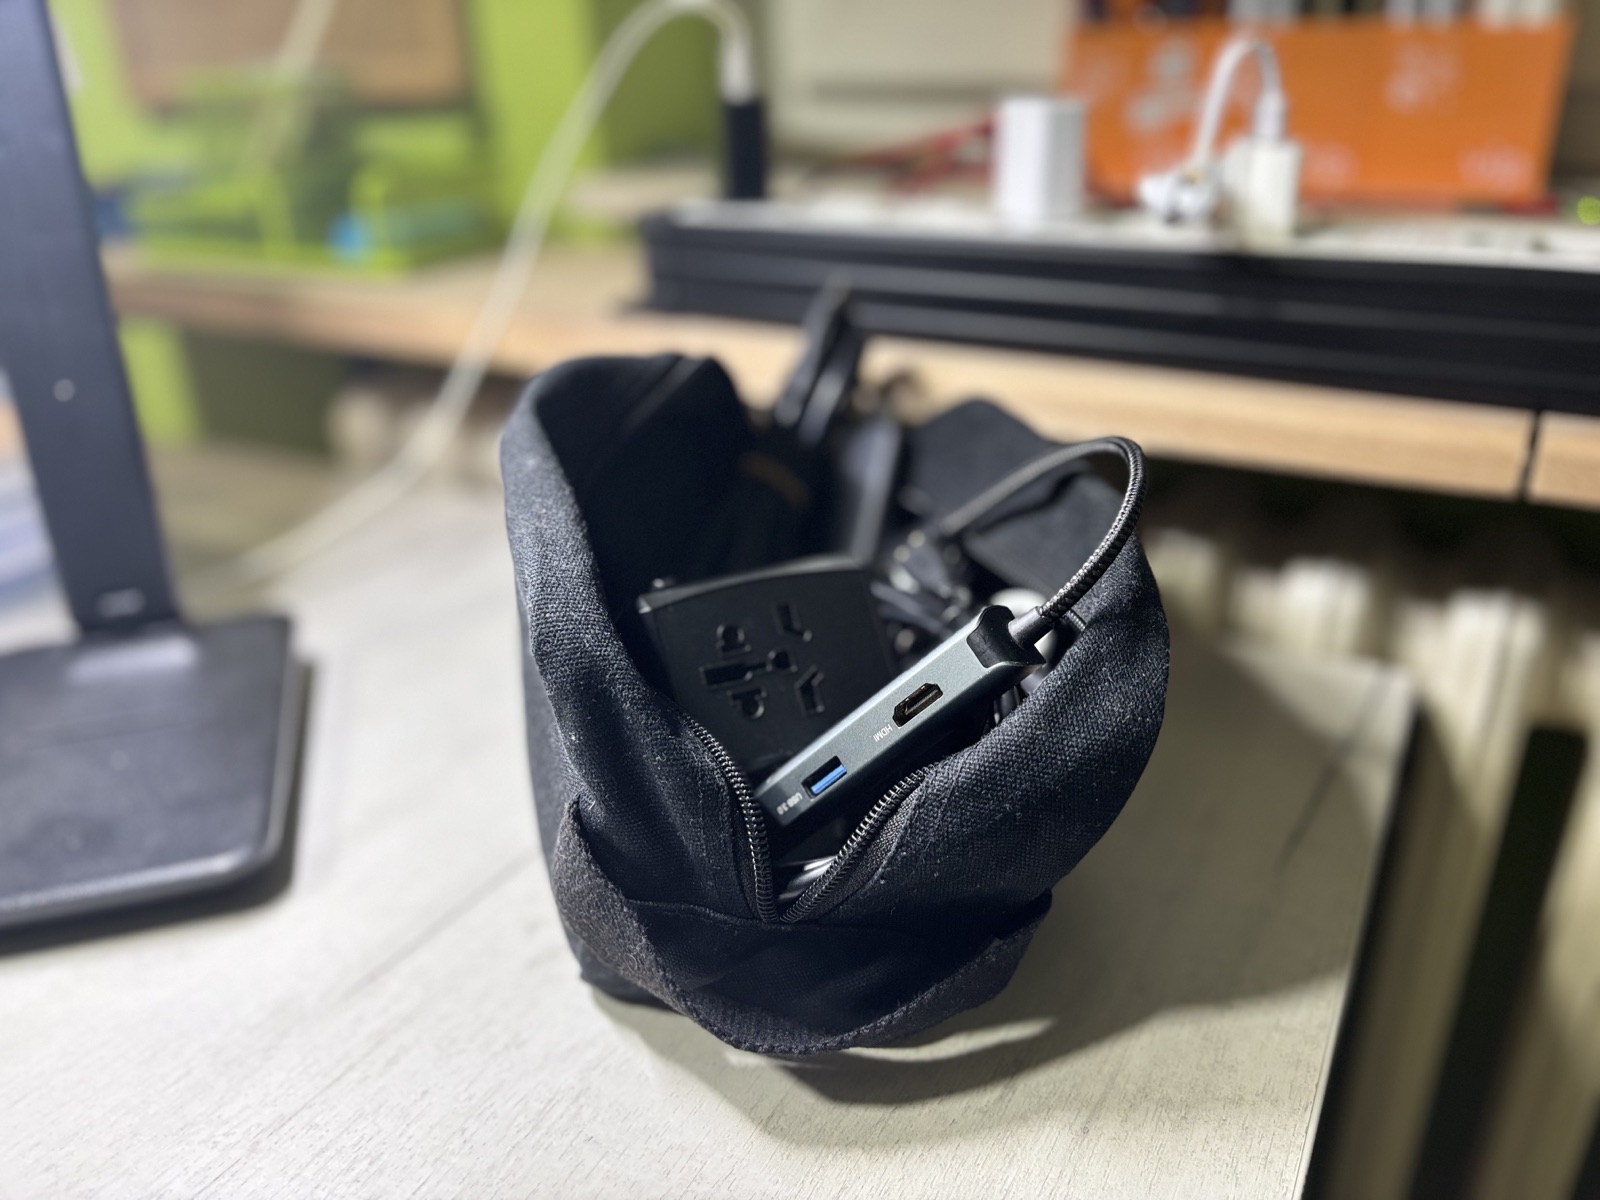
Here is the short version of what I pack:
- A five-socket, 2 m Type F extension cord
- One travel adapter suitable for the destination and the connected load
- An Anker 747 150 W four-port charger
- A 10,000 mAh magnetic power bank
- One 5 m HDMI cable and one 3 m spare
- A USB-C-to-HDMI adapter
- A USB-C hub with HDMI, Ethernet, and USB-A ports
- An Android TV stick with its remote and power cable
- The small USB cables and converters my equipment actually uses
- A USB stick with a video the TV can play directly
- Velcro ties and an ordinary toiletry bag
The extension cord does not fit in the toiletry bag. I pack it somewhere else. That minor imperfection has never bothered me enough to buy a bigger bag.
The power setup that came out of Boston
My extension cord has five Type F sockets, a 2 m cable, and grounding contacts. I do not know its brand or model, so I am not going to pretend it is a specific product everyone should buy.
If I were replacing it today, I would choose a good-quality cord from a reputable electrical brand with its voltage and current rating clearly printed on it. This is not where I would try to save €10.
The idea is to adapt one plug rather than every charger. I connect the extension cord through one travel adapter, then plug my familiar equipment into the extension. It gives me a useful cluster of sockets at the counter instead of one adapter hanging from a distant wall or floor outlet.
There is an important limit: this is not safe with every travel adapter, voltage, or venue. The adapter must be rated for the total load and suitable for a multisocket extension. If any device requires protective earth, the whole connection must preserve it. Venue electrical rules take priority.
The useful principle is not “any extension cord works anywhere.” It is “solve the socket problem once, with equipment whose ratings you have checked.” Put those devices in the booth power planning worksheet before ordering venue power.
One charger replaces a pile of chargers
The main charger in my bag is an Anker 747 GaNPrime 150 W charger, model A2340. It has three USB-C ports and one USB-A port.
It covers nearly everything I normally bring: a MacBook, an iPhone, an Apple Watch, and occasionally a Raspberry Pi Zero. Its 150 W is shared between the four ports, so I checked the multiport output rather than buying on the headline wattage alone. I still bring the cables, but not a separate wall charger for every device.
One normal TV connection and one backup
The normal display connection is deliberately boring:
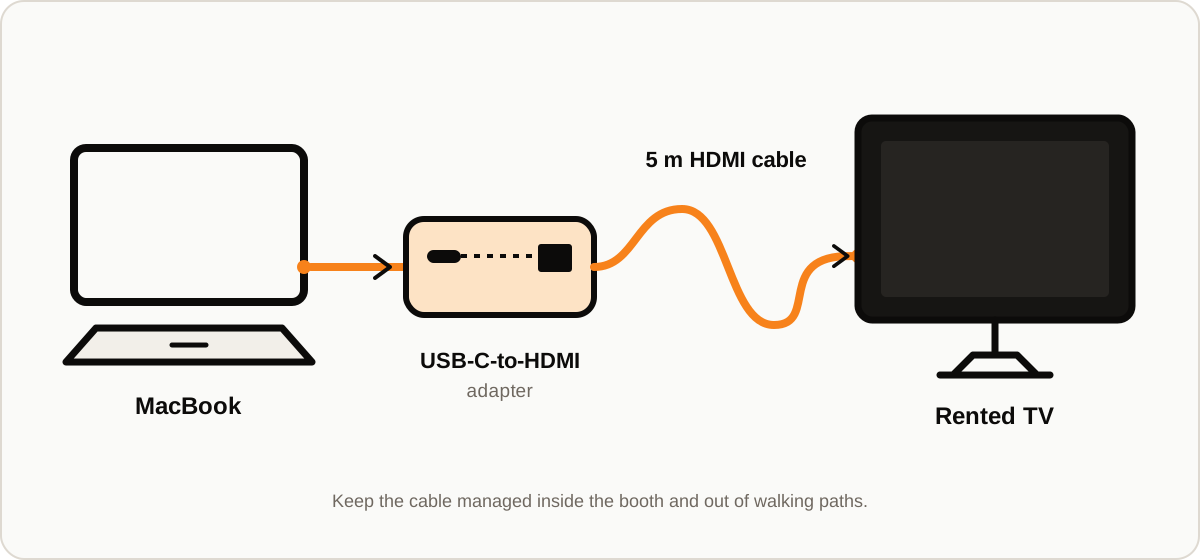
I use a 5 m cable because the laptop and TV always seem to end up slightly farther apart than expected. My spare is 3 m. It stays coiled in the bag where nobody can step on it, tape over it, or pack it with someone else’s equipment.
I also carry a USB-C hub with HDMI, Ethernet, and USB-A ports. The separate HDMI adapter is my normal route because it has one job; the hub is the backup. I connect both paths to a TV before traveling. An untested backup is just extra luggage.
The Android TV stick gives the screen its own player
I carry an Android TV stick to run Booth Beam on the rented TV. We use it for analytics dashboards, raffle countdowns, the prize-wheel screen, and other content that needs to stay visible while the MacBook remains free for live product demos.
The useful part is giving the booth screen a dedicated player instead of making one laptop do two jobs. Booth Beam is the software I use, but the same packing principle applies to another playback setup: keep the player, remote, and power cable together, and test the complete path on a second TV before traveling.
The Android TV stick does not replace my fallback. If its software or network connection has a problem, I can switch the rented TV to the USB stick while I troubleshoot.
The small cables are specific to my equipment
This part of the bag will look different for everyone. Mine currently contains:
- USB-C to USB-C
- USB-A to USB-C
- An Apple Watch charging cable
- USB-A to Micro-USB
- Mini-HDMI to full-size HDMI for a Raspberry Pi
- A couple of small USB-C/USB-A converters
Micro-USB covers older equipment. Mini-HDMI is unnecessary unless I bring the Raspberry Pi. Both remain because I can name the device they connect.
I also carry two audio adapters: 2.5 mm to 3.5 mm and 3.5 mm to 2.5 mm. I have never used either one at a conference. They take almost no space, though, so they have survived every attempt to clean out the bag. Not every object in a useful kit needs a heroic justification.
“This might be useful someday” is how a cable bag turns into a drawer.
The USB stick is my simplest playback fallback
I keep one simple video on a USB stick. It is prepared so a TV can play it directly and loop it without the laptop, network, or signage application.
This is not my preferred setup. It is the path with the fewest things left to fail. If the network or signage application has a problem, the screen can keep showing something useful while I troubleshoot. When I know the rental model, I check its supported USB filesystem and video format; otherwise, I at least test the drive on a second TV before leaving.
The bag is intentionally ordinary
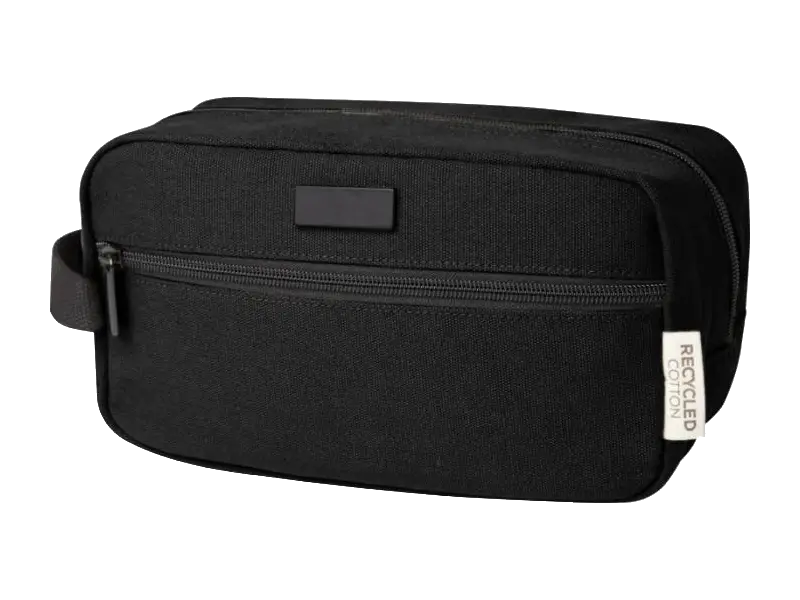
My cable bag is Joey GRS travel accessory pouch bag: a simple canvas pouch with a large main opening and an outside pocket. It is not a carefully engineered electronics organizer.
I coil each cable, secure it with a Velcro tie, and keep the USB stick and smallest adapters in the outside pocket. Everything else goes in the main compartment. The important part is opening one pouch during setup instead of searching three suitcases.
The pouch stays in my carry-on. The extension cord goes elsewhere because it is too large.
The power bank belongs in the carry-on too
My power bank is an unremarkable 10,000 mAh magnetic model. I use it during setup when I need to keep a phone alive without spending one of the available sockets. I do not rely on the 10,000 mAh number when checking whether it can fly; airlines use the battery’s watt-hour rating.
Current IATA battery guidance says power banks belong in hand luggage, not checked baggage. Up to 100 Wh is generally allowed; 100–160 Wh may require airline approval, and larger batteries are generally not permitted. The Wh rating should be visible and the battery protected from damage and short circuits.
If my carry-on is gate-checked, I remove the power bank. IATA’s 2026 guidance says not to recharge it onboard and advises against using it to charge another device onboard. Airlines can be stricter, so I check the carrier before every trip. The FAA PackSafe page covers US rules.
My final packing check
Power
- Five-socket, 2 m Type F extension cord
- Properly rated destination adapter
- Anker 747 charger
- 10,000 mAh power bank with a visible Wh rating
Display and fallback
- 5 m HDMI cable
- 3 m spare HDMI cable
- USB-C-to-HDMI adapter
- USB-C hub
- Android TV stick
- TV-stick remote and power cable
- USB stick with a tested loopable video
Small cables and adapters
- USB-C-to-USB-C cable
- USB-A-to-USB-C cable
- Apple Watch charging cable
- USB-A-to-Micro-USB cable
- Mini-HDMI-to-HDMI cable when the Raspberry Pi is traveling
- Small USB-C/USB-A converters
- The two audio adapters I will probably not use
- Velcro tie on every coiled cable
This is my kit, not a universal shopping list. Start with the laptop, phone, and demo hardware you are actually taking. Copy the structure - one power setup, one dedicated screen player, one demo connection, and one basic fallback - not every peculiar cable I have accumulated.
Then add the finished cable bag as one owned item in the broader conference booth packing checklist.
Next steps
Useful next steps
Checklists
Conference booth packing checklist
A field-ready checklist for assigning, testing, packing, shipping, and returning a small conference booth without losing critical equipment.
Experiments
How to test booth screen playback before a conference
A repeatable pre-show protocol for comparing booth screen playback paths by recovery time, staff effort, and dependence on the venue network.
Tools
Booth power planning worksheet
A printable worksheet for inventorying powered booth equipment, mapping outlet locations, and preparing a clear electrical-service request.